An Inside Look at Exertify

If you truly want to boost your business and be competitive in your industry, you should give your employees, students or clients a chance for new learning opportunities. You can always hire skilled professionals to do that and let them run your business for now, but nothing beats the fact that doing it in-house is the right way to do it. Ask any successful company which understands innovative concepts.
If your current priority is knowledge improvement there are plenty of software out there, but imagine you can have an all-in-one solution where you can easily manage feedback and knowledge altogether. You are probably wondering how is that possible?
We want to introduce you to Exertify – configurable knowledge testing software for generating lessons, knowledge checks and certificates. And if your business strategy is SMART you can easily mix Exertify with Feedbackswift (our survey platform) where you enjoy valuable feedback and test your knowledge along the way.
Here’s a peek at Exertify along with Feedbackswift because we do believe that an all-in-one solution is a solution for everyone.
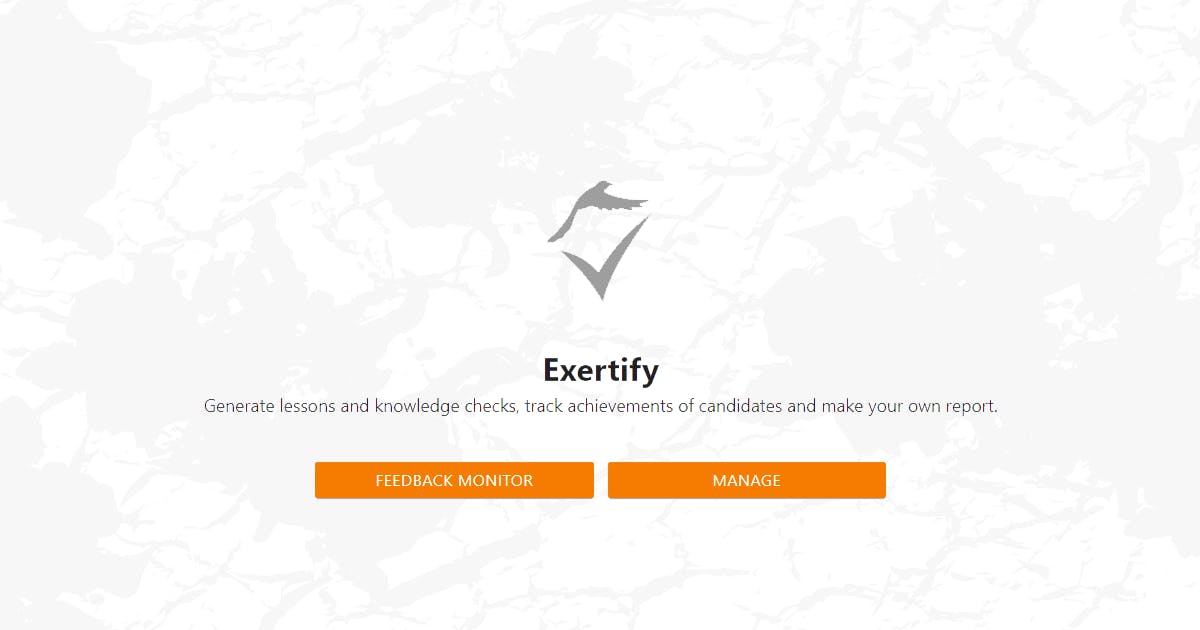
Welcome to Exertify! Start generating lessons and knowledge checks, track achievements of candidates and make your own certificate.
Dashboard
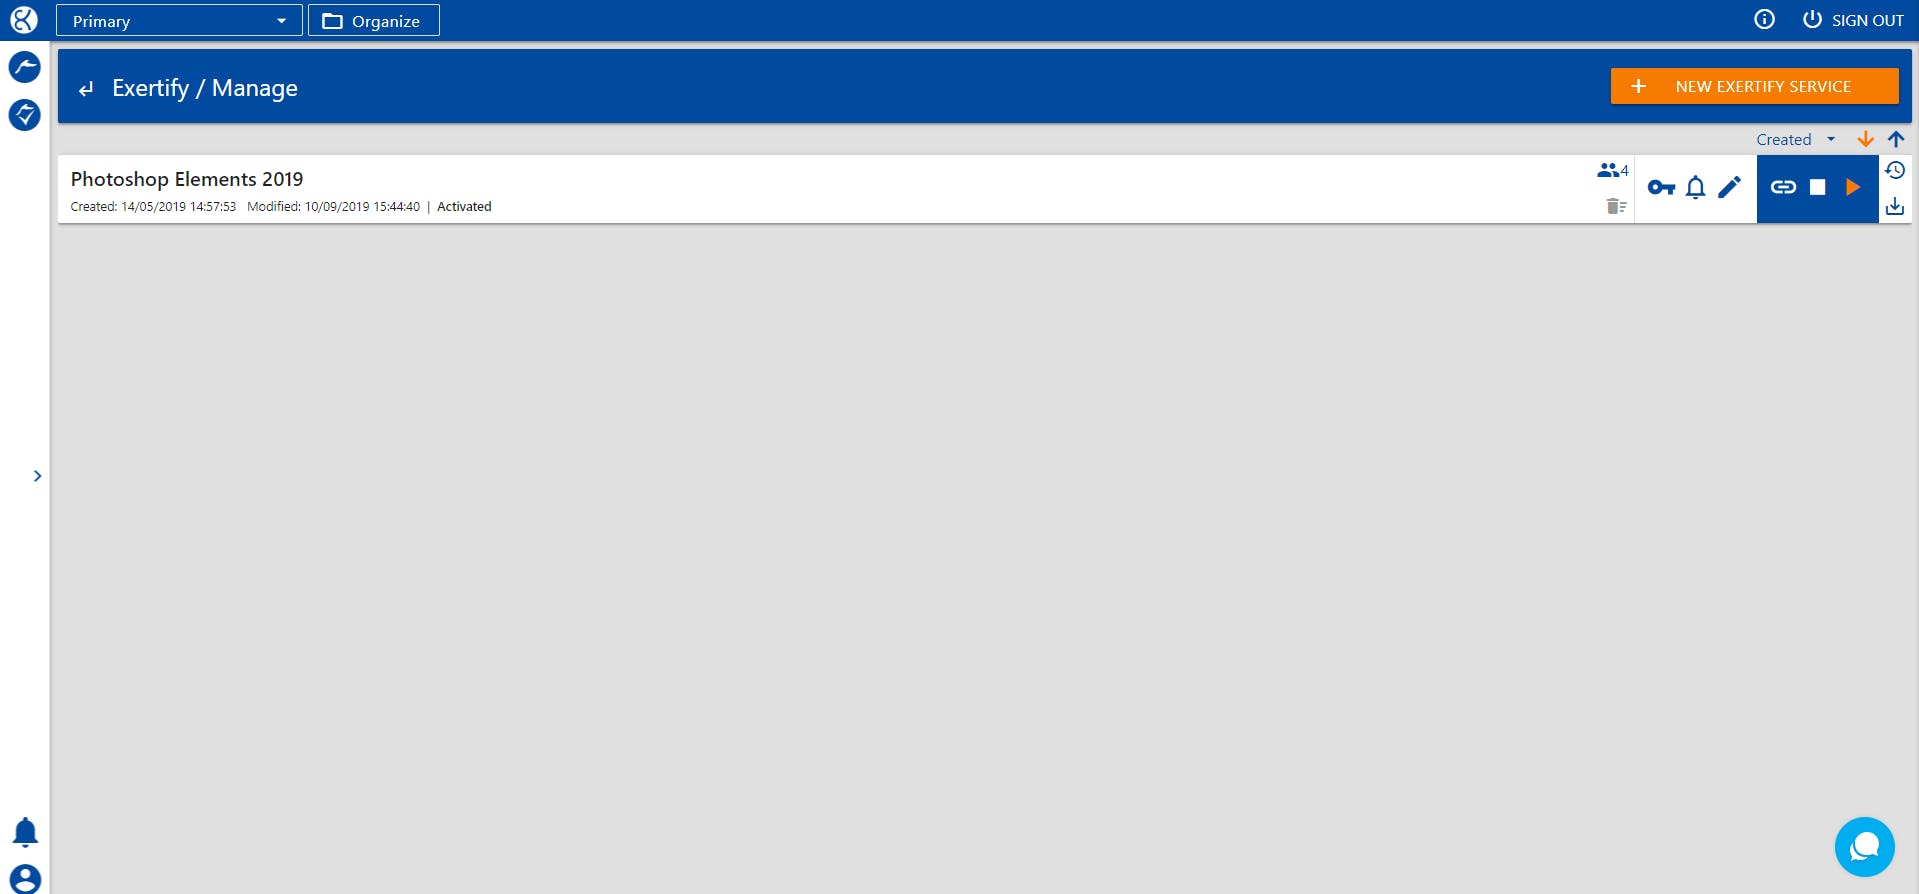
When you click on “Manage” in the Cockpit, the dashboard navigation panel is going to open. In this example, we are showing the lesson “Photoshop Elements 2019” which we created purposely for this tutorial.
Under “New Exertify service”, you can choose to create a new service from scratch, clone one, or upload it from a file.
Configurator
Basic settings
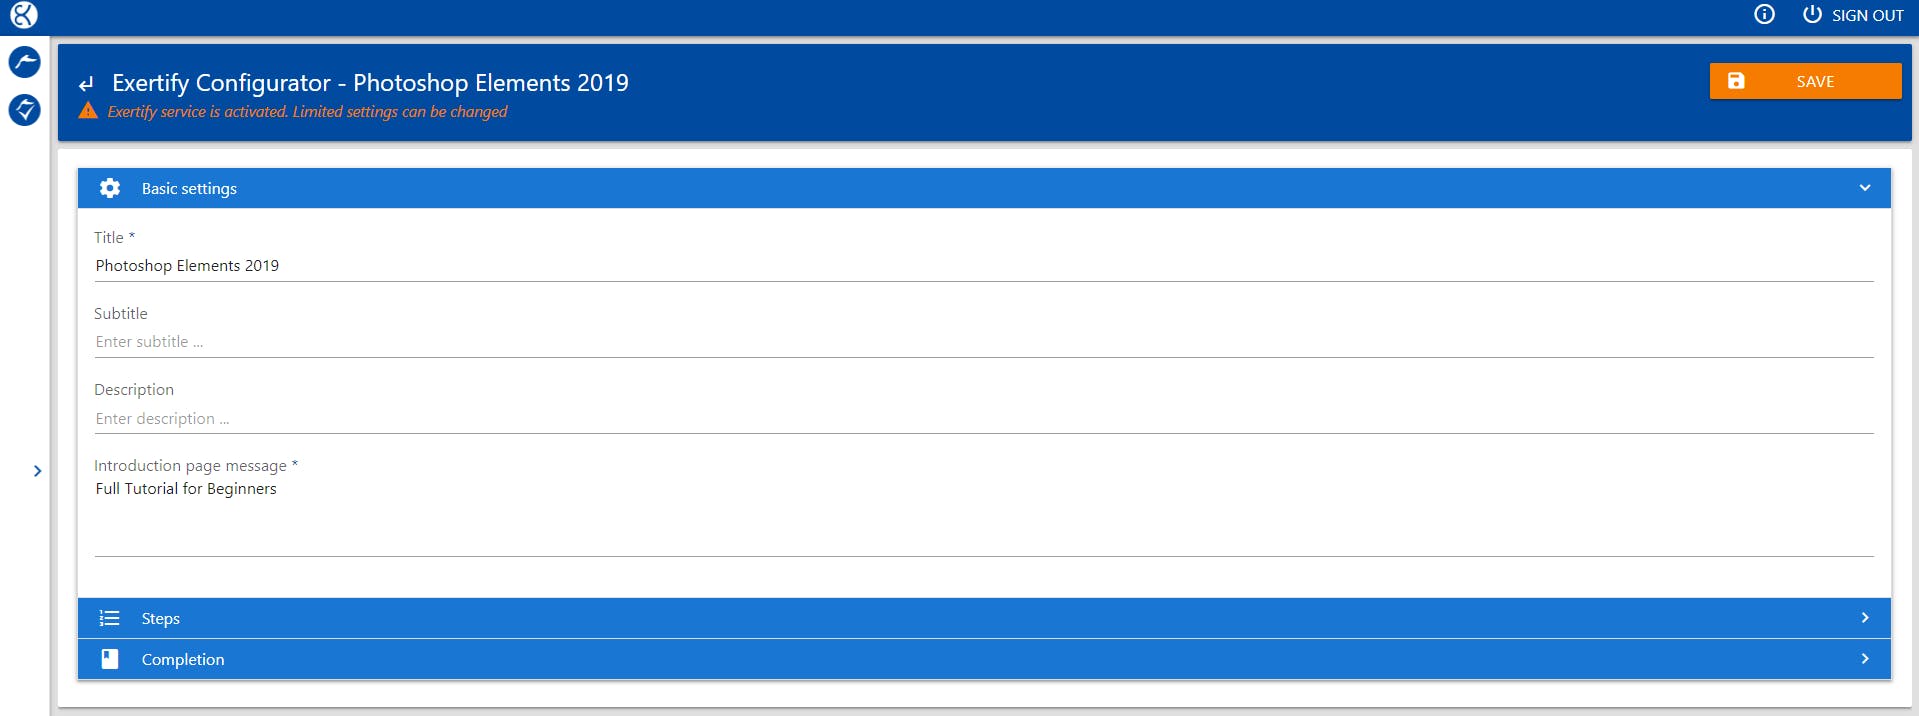
We entered our Exertify example “Photoshop Elements 2019” by clicking “Edit Exertify service” in the previous panel.
Within Basic settings, you can fill in all the information about your lesson or tutorial.
Steps
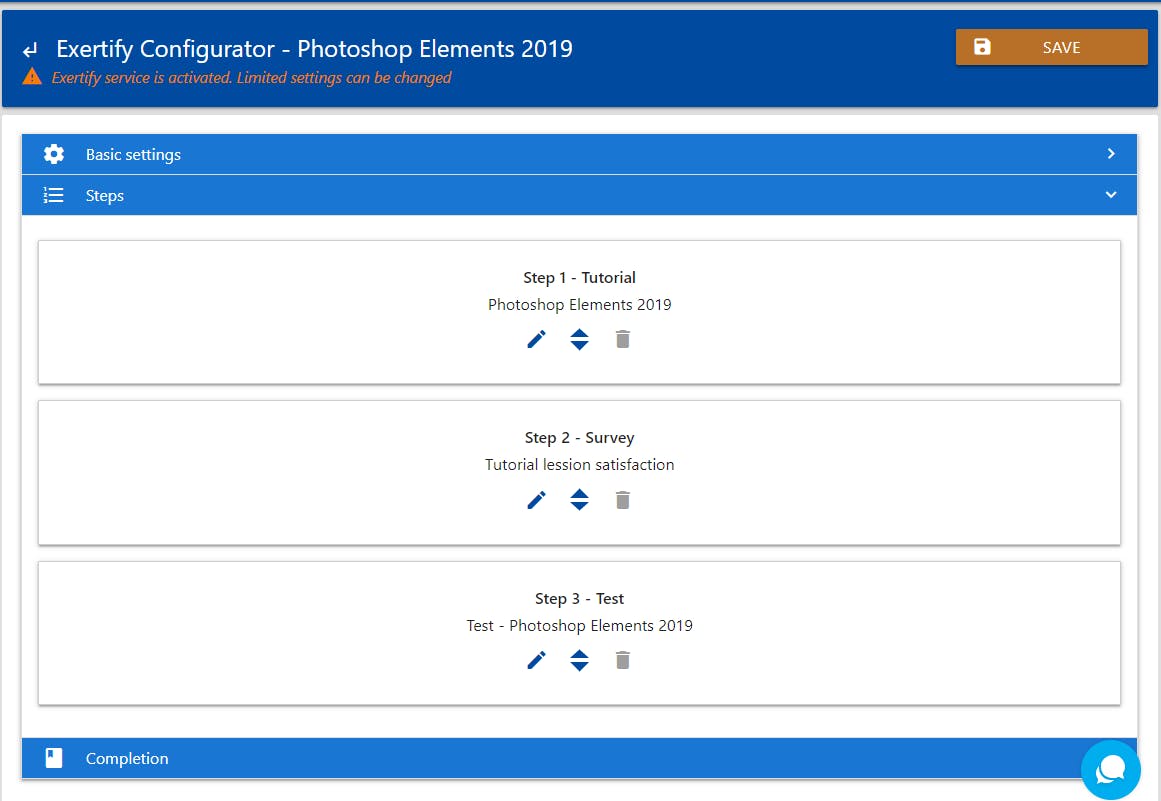
Opening the second drop-down menu “Steps” you are entering the core of your creation. In this section, for the “Step 1” we created a video lesson (tutorial) of Photoshop Elements 2019. You can edit this section any time and the only thing you should remember here is that your video must be uploaded on Vimeo or Youtube in order to be shown in your Sections. You can add as many videos, images, text or links as you want in Section/s. When you are finishing with the creation, you can preview it and then save it, or just go back to have an overall view on Steps.
For the purpose of this tutorial, we’ve created “Step 2 – Survey” where we put our other software (FeedbackSwift) in the mix. We wanted to get valuable feedback from learners about how much they liked Tutorial, in Step 1, and how much valuable material they’ve got.
In the “Step 3 – Test” we have made an overall time-limited test from the video tutorial (in Step 1) to test knowledge of the learners.
You can add as many Tutorials, Surveys and Tests in Steps, it is unlimited.
Completion
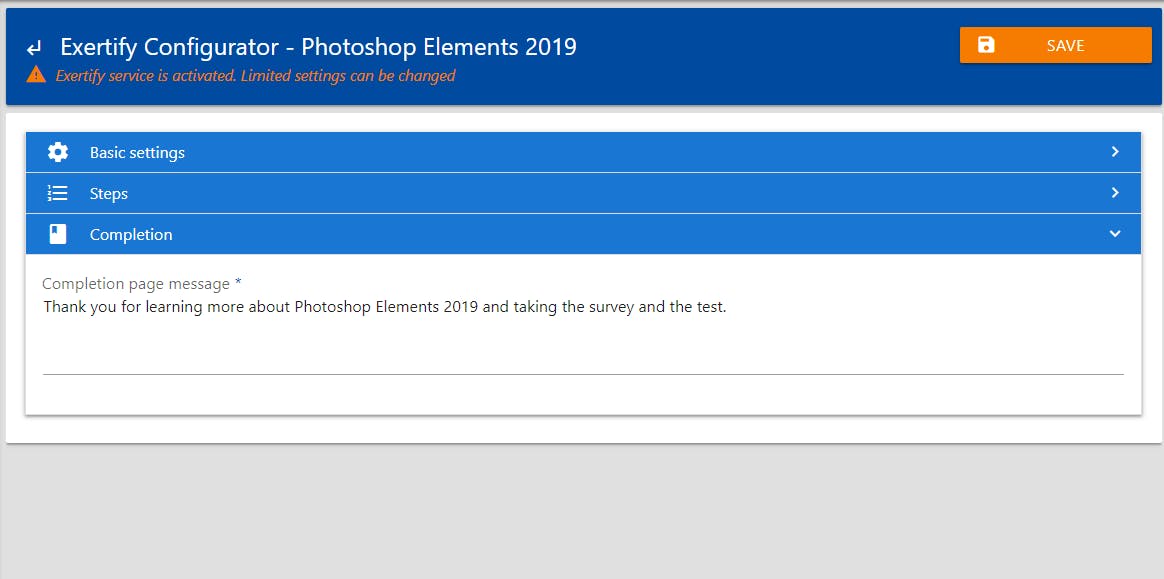
Finally, in the Completion panel, you need to enter the Completion page message where you can thank your learners for their time and effort.
And don’t forget to SAVE everything when you finish!
Feedback monitor
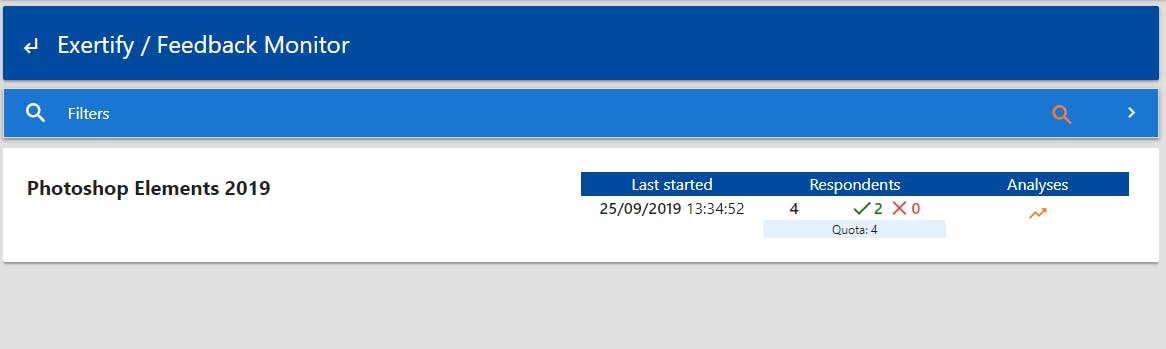
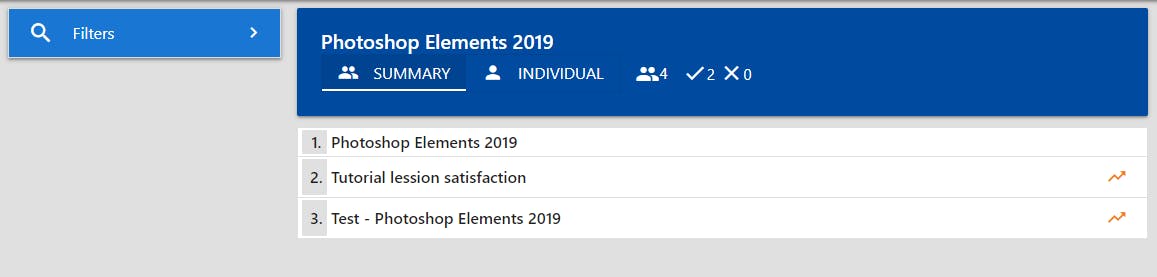
You can choose between individual or summary view, apply various filters, compare data, and understand its extreme values. Visualize those via different methods, including text, graphs, and pie charts.
Stay informed on your results and choose to receive a daily/weekly/monthly summary report on your e-mail.
Best of all, all the acquired data and its analysis are completely exportable and ready to serve various presentation purposes.
You do like our software, don’t you? Start your 7-day trial now!